Monday, January 23, 2023

OTA programming in ESP32

One of the best things about ESP32 is that its firmware can be updated wirelessly. This kind of programming is called “Over-The-Air” (OTA). OTA programming lets you update/upload a new program to the ESP32 over Wi-Fi without having to connect the ESP32 to the computer via USB. The OTA functionality comes in handy when there is no physical access to the ESP module. In addition, it reduces the time required to update each ESP module during maintenance. One key advantage of OTA is that a single central location can send an update to multiple ESPs on the same network.

The only disadvantage is that you must include an OTA code with each sketch you upload in order to use OTA in the next update.

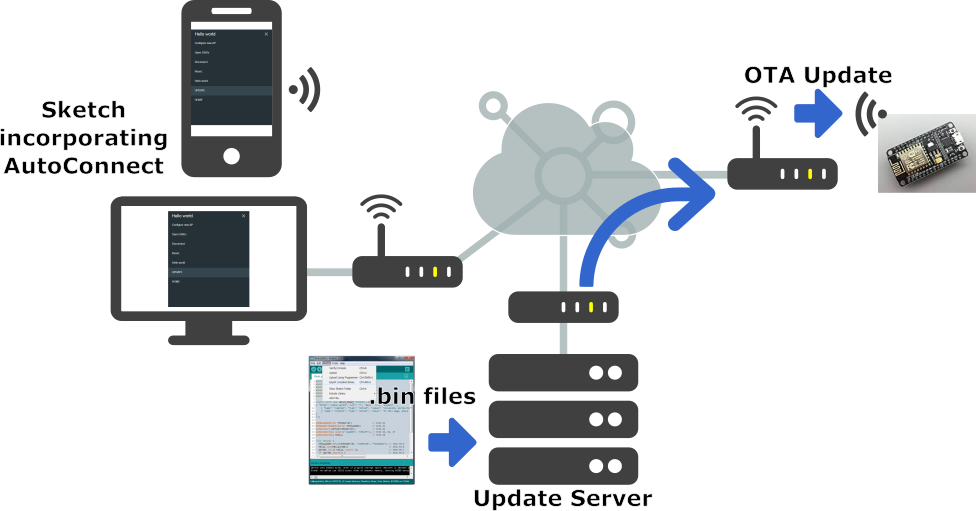
Ways To Implement OTA In ESP32

There are two ways to implement OTA functionality in the ESP32.

  • Basic OTA – updates are delivered using the Arduino IDE.
  • Web Updater OTA – updates are delivered via a web browser.

Each one has its own benefits, so you can use whichever one works best for your project.

Hear I discuss Web Updater OTA

ESP32 Over-the-air (OTA) Programming – Web Updater Arduino IDE

Quick guide that shows how to do over-the-air (OTA) programming with the ESP32 using the OTA Web Updater in Arduino IDE. The OTA Web Updater allows you to update/upload new code to your ESP32 using a browser, without the need to make a serial connection between the ESP32 and your computer.

OTA Updates - AutoConnect for ESP8266/ESP32

OTA programming is useful when you need to update code to ESP32 boards that are not easily accessible. The example we’ll show here works when the ESP32 and your browser are on your local network.

The only disadvantage of the OTA Web Updater is that you have to add the code for OTA in every sketch you upload, so that you’re able to use OTA in the future.

How does OTA Web Updater Work?

  • The first sketch should be uploaded via serial port. This sketch should contain the code to create the OTA Web Updater, so that you are able to upload code later using your browser.
  • The OTA Web Updater sketch creates a web server you can access to upload a new sketch via web browser.
  • Then, you need to implement OTA routines in every sketch you upload, so that you’re able to do the next updates/uploads over-the-air.
  • If you upload a code without a OTA routine you’ll no longer be able to access the web server and upload a new sketch over-the-air.

Prerequisites

Before proceeding you should have ESP32 add-on installed in your Arduino IDE.

ESP32 OTA Web Updater

When you install the ESP32 add-on for the Arduino IDE, it will automatically install the ArduinoOTA library. Go to File > Examples >ArduinoOTA> OTAWebUpdater.

otawebupdater-arduino-ide

You should change the following lines on the code to include your own network credentials:

const char* ssid = "";
const char* password = "";

The OTAWebUpdater example for the ESP32 creates an asynchronous web server where you can upload new code to your board without the need for a serial connection.

Upload the previous code to your ESP32 board. Don’t forget to enter your network credentials and select the right board and serial port.

After uploading the code, open the Serial Monitor at a baud rate of 115200, press the ESP32 enable button, and you should get the ESP32 IP address:

Now, you can upload code to your ESP32 over-the-air using a browser on your local network.

To test the OTA Web Updater you can disconnect the ESP32 from your computer and power it using a power bank, for example (this is optional, we’re suggesting this to mimic a situation in which the ESP32 is not connected to your computer).

Update New Code using OTA Web Updater

Open a browser in your network and enter the ESP32 IP address. You should get the following:

otawebupdater-user-pass

Enter the username and the password:

  • Username: admin
  • Password: admin

You can change the username and password on the code.

Note: After you enter the username and password, you are redirected to the /serverIndex URL. You don’t need to enter the username and password to access the /serverIndex URL. So, if someone knows the URL to upload new code, the username and password don’t protect the web page from being accessible from others.

A new tab should open on the /serverIndex URL. This page allows you to upload a new code to your ESP32. You should upload .bin files (we’ll see how to do that in a moment).

ota-web-updater-esp32

Preparing the New Sketch

When uploading a new sketch over-the-air, you need to keep in mind that you need to add code for OTA in your new sketch, so that you can always overwrite any sketch with a new one in the future. So, we recommend that you modify the OTAWebUpdater sketch to include your own code.


Generate a .bin file in Arduino IDE

To generate a .bin file from your sketch, go to Sketch > Export compiled Binary

export-bin-file-arduino-ide

A new file on the folder sketch should be created. Go to Sketch > Show Sketch Folder. You should have two files in your Sketch folder: the .ino and the .bin file. You should upload the .bin file using the OTA Web Updater.

Upload a new sketch over-the-air to the ESP32

In your browser, on the ESP32 OTA Web Updater page, click the Choose File button. Select the .bin file generated previously, and then click Update.

After a few seconds, the code should be successfully uploaded.


Now your new code is ready to use.


Wednesday, January 11, 2023

Rebuild broken Remote Control Toy Car and upgrate with a Camera using ESP32-CAM - Ai-Thinker

 
Rebuild broken RC car using  ESP 32 cam module

Parts Required

  1. ESP32-CAM with OV2640   (  ESP32-CAM - Ai-Thinker )

  2. FTDI programmer

  3. Old RC car to make a chassis of car

  4. L298N Motor Driver Unit  

Introducing the ESP32-CAM

The ESP32-CAM is a very small camera module with the ESP32-S chip that costs approximately $10. Besides the OV2640 camera, and several GPIOs to connect peripherals, it also features a microSD card slot that can be useful to store images taken with the camera or to store files to serve to clients.
 
 
The ESP32-CAM doesn’t come with a USB connector, so you need an FTDI programmer to upload code through the U0R and U0T pins (serial pins).


ESP32-CAM Pinout

 https://i0.wp.com/randomnerdtutorials.com/wp-content/uploads/2019/03/ESP32-CAM-pinout-1.png?quality=100&strip=all&ssl=1


Video Streaming Server for testing your first code

first, let's test our video streaming server, then go to project back, 

1. Install the ESP32 add-on 

  • Open the Arduino IDE (Integrated Development Environment).

  • Go to "File" and select "Preferences."

  • In the "Additional Boards Manager URLs" field, add the following URL: https://dl.espressif.com/dl/package_esp32_index.json

  • Click "OK" to save the changes.

  • Go to "Tools" and select "Board: " and then "Boards Manager."

  • In the "Boards Manager" window, search for "esp32" and select "esp32 by Espressif Systems" from the results.

  • Click the "Install" button to install the ESP32 add-on.

  • Once the installation is complete, close the "Boards Manager" window.

  • Go to "Tools" and select "Board: " and then "ESP32 Dev Module" from the list of boards.

  • You're now ready to use the ESP32 with Arduino!

2. Camera Web Server from Example Code 


Don't froget to update your WIFI Username and Password, and select proper cam module.

3. ESP32-CAM Upload Code using FTDI programmer

Upload Code with Arduino IDE

To upload code to the ESP32-CAM (AI-Thinker) using Arduino IDE, follow the next exact steps.

Connect the ESP32-CAM board to your computer using an FTDI programmer. Follow the next schematic diagram:


Many FTDI programmers have a jumper that allows you to select 3.3V or 5V. Make sure the jumper is in the right place to select 5V.
 
 
Important: GPIO 0 needs to be connected to GND so that you’re able to upload code.
 
ESP32-CAMFTDI Programmer
GNDGND
5V                                VCC (5V)
U0RTX
U0TRX
GPIO 0GND       


To upload code to the ESP32-CAM using Arduino IDE,

1) Go to Tools Board and select AI-Thinker ESP32-CAM. You must have the ESP32 add-on installed. Otherwise, this board won’t show up on the Boards menu.

2) Go to Tools Port and select the COM port the ESP32-CAM is connected to.

3) For demonstration purposes, you can upload a blank sketch to your board:

void setup() {
  // put your setup code here, to run once:
}

void loop() {
  // put your main code here, to run repeatedly:
}

4) Then, click the Upload button in your Arduino IDE.

Program ESP32-CAM with Arduino IDE

5) When you start to see some dots on the debugging window, press the ESP32-CAM on-board RST button.

Program and upload code to ESP32-CAM with Arduino IDE
ESP32-CAM Press RESET RST on-board button to restart
After a few seconds, the code should be successfully uploaded to your board.
ESP32-CAM AI Thinker Module Arduino IDE Done Uploading Success Message
6) When you see the “Done uploading” message, you need to remove GPIO 0 from GND and press the RST button to run your new code.
 
But Now you must upload final code before removing programmer.

 7) Now you can upload final code to control RC car.

download the code form GitHub and upload as same as above
https://github.com/almorawaka/ESP32-CAM-RC-car-with-camera.git
Go to my git hub and download code and update SSID and PW in the code. Select proper Module and Upload the code

8) Solder the circuit connections as follows 


Start by connecting the ESP32-CAM to the motor driver as shown in the schematic diagram. You can either use a mini breadboard or a stripboard to place your ESP32-CAM and build the circuit.

The following table shows the connections between the ESP32-CAM and the L298N Motor Driver.


Finally, apply power with a power bank as shown in the schematic diagram. You need to strip a USB cable. In this example, the ESP32-CAM and the motors are being powered using the same power source and it works well.

4. Getting the IP address of your server

When you upload this code to your ESP32-CAM module and open the Serial Monitor in the Arduino IDE, you should see the module connecting to your Wi-Fi network and obtaining an IP address. The IP address will be printed in the Serial Monitor.

Open a browser on the ESP32-CAM IP address, and you should be able to control your robot. The web server works well on a laptop computer or smartphone.

5. Accessing the Video Streaming Server

Check your WiFi router and get the IP of ESP-32 CAM module and log into that IP


Wrapping Up

Thanks for https://randomnerdtutorials.com/esp32-cam-car-robot-web-server/  for open source code sharing.... :)


Search This Blog