In today's blog post, lets explore four straightforward methods to disable the automatic update feature in Windows. Whether you're looking to take control of your system's update schedule or avoid unexpected disruptions, these simple approaches will empower you to manage Windows updates on your terms. Let's dive into the hassle-free ways to keep your system in check without the automatic update hassle.
Option 1.
Disable Windows Update Service. Open Services.Msc
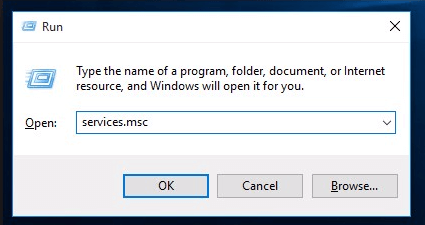
Press the Windows logo key + R at the same time to invoke the Run box. Type services.msc and press Enter.
Double-click on Windows Update Service
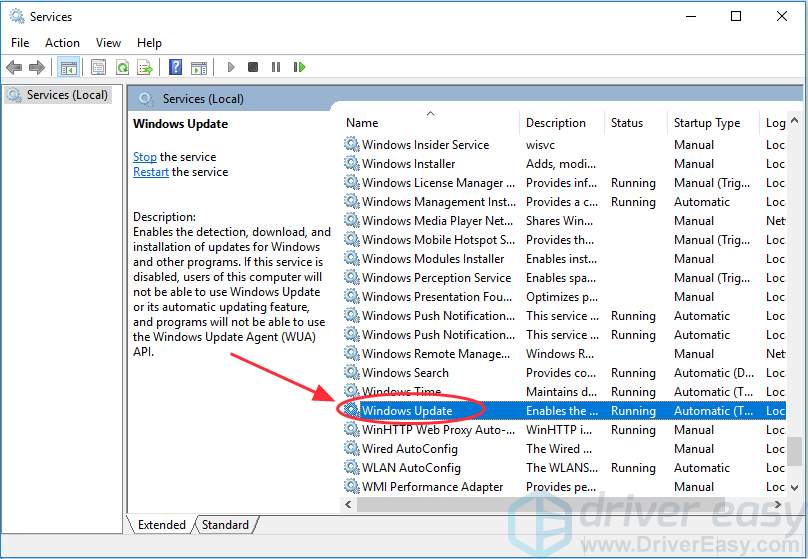
Scroll down the service list to Windows Update and double-click it.
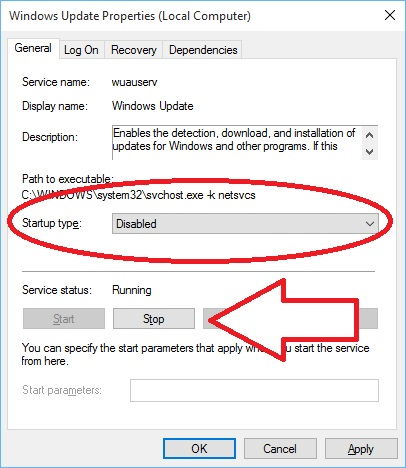
In Window with Startup Type Select Option Disabled
In Startup type window select Disabled. Then click Apply and OK to save the settings.
Option 2.
Change the Setting of the Group Policy Editor
The Group Policy feature is not available in the Home edition. So, only when you run Windows 10 Professional, Enterprise, or Education, you can use the Group Policy Editor to change the settings to prevent Windows 10 from automatically updating. The local group policy editor will notify you of new updates without automatically installing them.
- Press the Windows logo key + R then type gpedit.msc and click OK.
- Go to Computer Configuration > Administrative Templates > Windows Components > Windows Update.
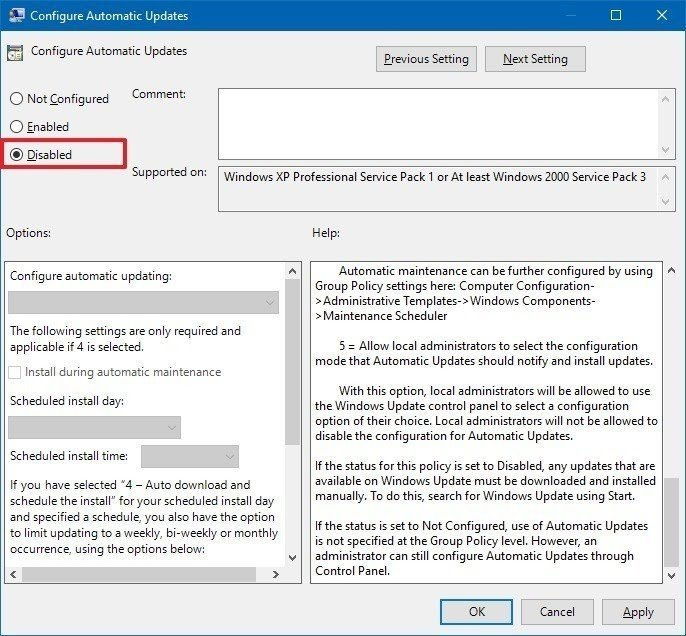
- Double-click Configure Automatic Updates.
- Select Disabled in Configured Automatic Updates on the left, and click —Apply and OK to disable the Windows automatic update feature.
Note: If you need to update your Windows version later, you can repeat the steps above, then select Enabled to turn on this feature, so that you can continue to download the updates.
Option 3.
Meter Your Network Connection
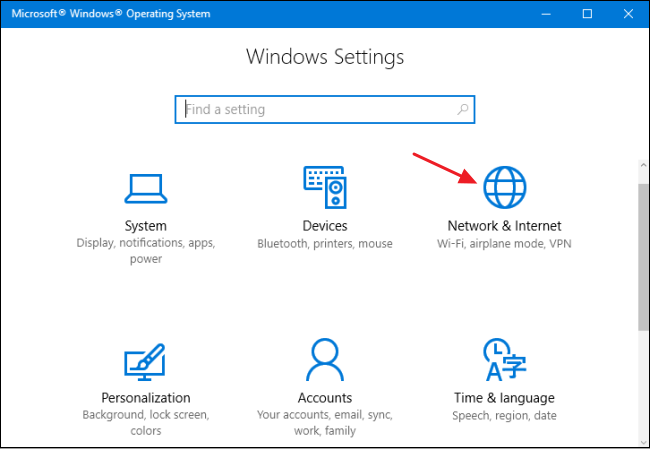
- Click the Start button at the bottom left on your desktop, then click the Settings app.
- Click Network & Internet.
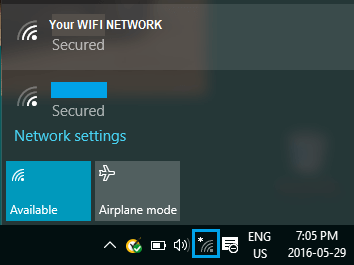
Click Wi-Fi Icon in the Windows Taskbar
Click Wi-Fi in the left pane, then click the name of your Wi-Fi connection.
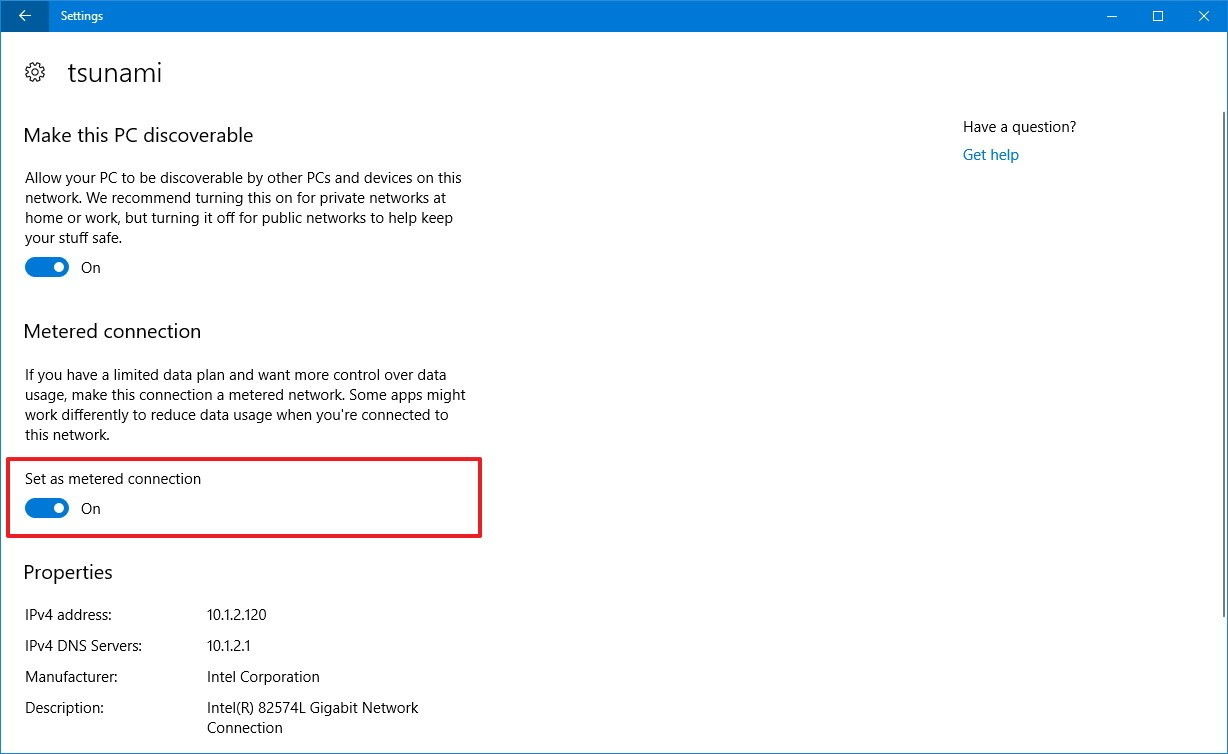
Click to Turn on Set as Metered Connection
Toggle on the option Set as metered connection and click to turn on.
Option 4.
Change the Way of Windows 10 Updates Using Registry
- Use the Windows key + R keyboard shortcut to open the Run command.
- Type regedit, and click OK to open the Registry.
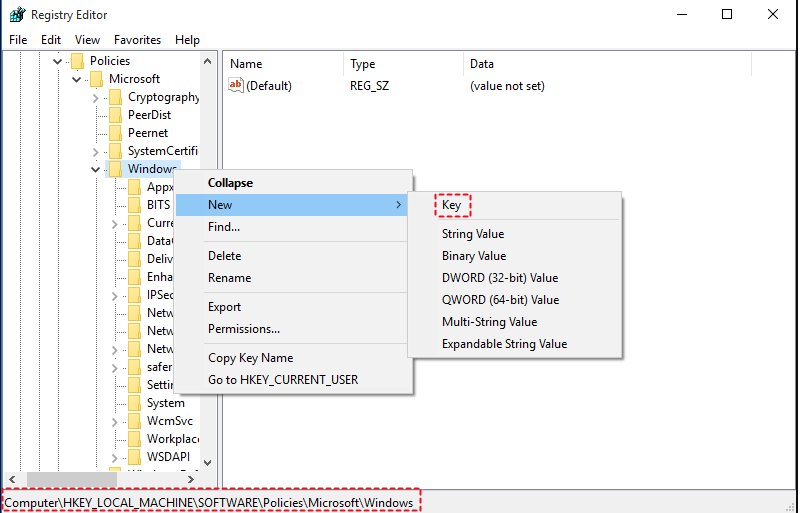
- Browse the following path: HKEY_LOCAL_MACHINE\SOFTWARE\Policies\Microsoft\Windows
- Right-click the Windows (folder) key, select New, and then click Key.
- Name the new key WindowsUpdate and press Enter.
- Right-click the newly created key, select new, and click Key.
- Name the new key AU and press Enter.
- Inside the newly created key, right-click on the right side, select New, and click on DWORD (32-bit) Value.
- Name the new key AUOptions and press Enter.
- Double-click the newly created key and change its value to 2. It’s for “Notify for download and notify for install”. Click OK.
- Close the Registry to complete the task.
No comments:
Post a Comment